Configuration / Pre-Requisites
• In Server Setup > Objects tab, configure the following options, as required:
o Object Tracker Barcode: Remove Leading “0”: Enable it if leading “0” is to be removed.
o Object Tracker Barcode: Remove Chars. From End: Enable it if characters from the end are to be removed.
o Use Tracker On Objects Without Inventory Number: To use the Check In/Out for Objects that do not have an inventory number. On these Objects it is not possible to use the Barcode Collector because there is no barcode number (inventory nr) to swipe against. But when swiping other Objects with inventory nrs., then the option to check out remaining Objects in the selection can be used. The tracker will then show if the Object has been checked out of the facility or not.
o Use Tracker On External Objects: To enable the tracker on external objects (coming from external suppliers) allowing you to check them in/out as well.

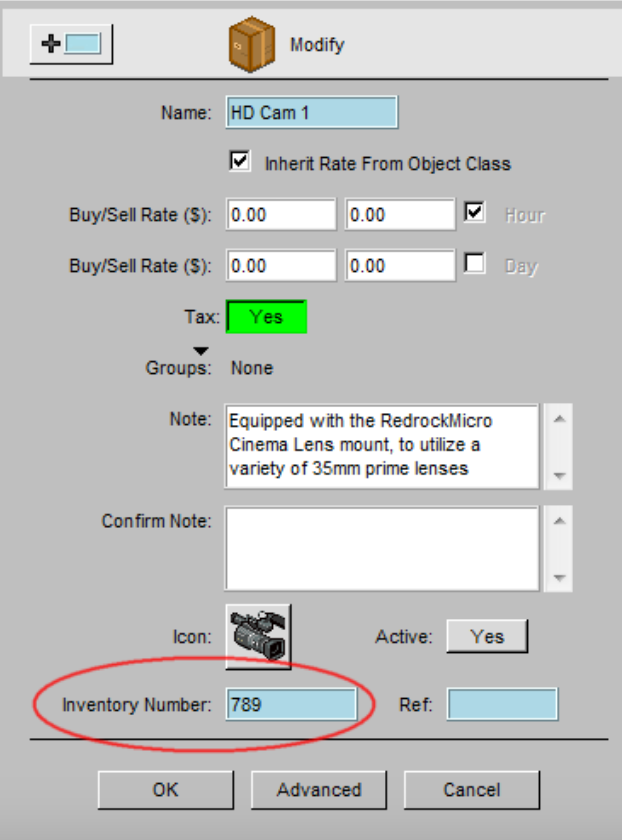
- Inventory Number: to use the tracking option, it is necessary to enter inventory number for each Object to be tracked. This number must be unique. This allows swiping the barcode when colleting Objects to check out/in.
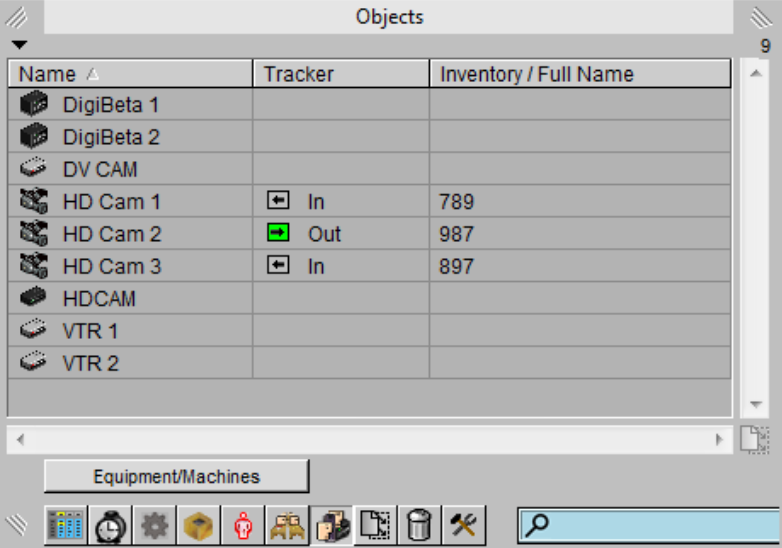
- Toolbox / Settings / Display: select Tracker: it will display an arrow icon (Tracker) next to each Object that has an inventory number, in the Object Tree and in the Bookings where they are added when displayed in the Project Tree.

- Toolbox / Settings / Display: select Inventory /Full Name: it will display the inventory number next to each Object that has an inventory number.
- Toolbox / Objects: click on arrow at the top and select Display / Tracker and Inventory/Full Name: to show these columns for information

Checking Objects Out
- Prepare a Booking and add some pieces of equipment.
- Open the Booking, click on the Reports icon and select HTML Report > Warehouse copy without *. This is the report the user will take to the warehouse to request the equipment.
- The warehouse person will collect all the requested equipment as detailed in this report. Once ready, he will open farmerswife and go to Toolbox > Project tab and will scan the farmerswife Booking ID from the Warehouse report before starting to check out the equipment. This action will open the dialog Sweep Barcode to start swiping the barcodes from the equipment:
- The equipment will get listed under the Object tab in the Toolbox. Once finished, press Done.
- A dialog asks to Modify Booking Times With Check Out Time?: select No to keep booking start time, or select Yes to modify booking start time to the check-out time.
- A window opens with three areas:
- Object That Will Not Be In The Booking: any objects that are moved to this area will be removed from the Booking. To move Objects from any of the other two areas to this one, simply click on them.
- New Objects Added To The Booking: if equipment that was not initially listed in the Booking is swiped, it will appear listed under this area. It may happen that a specific requested equipment is not in the warehouse and so it is replaced with another.
- Objects In The Booking, But Not In Your Selection: if a specific equipment in the Booking has not been swiped, it will appear listed under this area.

- Once done, hit OK. A dialog asking to Check Out The Remaining Objects (x)? will pop up if there are objects in that Booking that have not been swiped. Select Yes to check them out.
- The Tracker arrow next to each Object in the Project Tree or in the Object Tree will turn green to show it is checked out and it will turn grey when it is checked in again.
- The Tracker arrow will appear red next to an Object in a Booking to indicate that it is checked-out, but not against that specific Booking.

Checking Objects In
To check in an object, the same operation is repeated.
Object Tracker Window
The Object Tracker can be opened by double clicking on the Tracker arrow next to the Object in the Object tree, or by double clicking on the Object either in the Toolbox > Objects tab, in the Object Tree or in the Hourline and then by clicking on the Tracker button.
The Object Tracker displays a Tag with information of the project and booking, as well as the Out and In with info about the user who checked it out/in and the date and time.
This window can also be used to check in or out the Object.
Barcode Selector
Access from Toolbox > Objects > Menu > Barcode Collector.
It can be used to collect a list of equipment by scanning their barcodes to either checking them in or out. If there is a list of Objects in the Object tab, a dialog will ask to first clear this list.
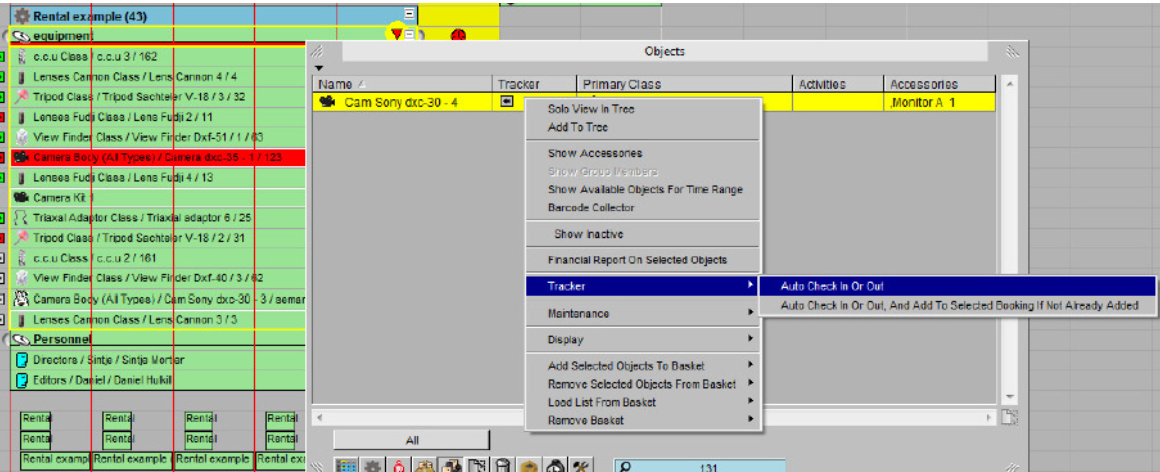
- Mark all Objects in the list, click on the drop-down arrow and select Tracker > Auto Check In Out.
- Mark a Booking to be able to check in/out the Objects and select the second option to Add to Selected Booking If Not Already Added.

Was this article helpful?
That’s Great!
Thank you for your feedback
Sorry! We couldn't be helpful
Thank you for your feedback
Feedback sent
We appreciate your effort and will try to fix the article